Cleaning Capacitors and Reviving Old Motherboards

Have you ever powered up a vintage machine only to be met with a blank screen or a faint, acrid smell of burning electronics? Capacitors are the most common failure point in retro hardware, and ignoring them can lead to permanent damage to your beloved systems. This guide explains how to identify failing electrolytic capacitors, how to safely remove leaked electrolyte, and the process of replacing them to bring your old motherboards back to life.
Capacitors act like tiny temporary batteries that store and release electrical energy. Over decades, the liquid electrolyte inside them can dry out or, in worse cases, leak out entirely. When this happens, the chemical residue is often corrosive and can eat through the copper traces on your motherboard. If you don't act, a $500 piece of history becomes a very expensive paperweight.
What are the signs of failing capacitors?
The most obvious sign of a failing capacitor is physical swelling or visible leakage around the base of the component. If the top of the capacitor is no longer flat but is instead bulging or "domed," it has reached its end of life. You might also see a crusty, brownish, or even greenish residue on the PCB (Printed Circuit Board).
Sometimes, the signs aren't visual at all. You might experience:
- Frequent system crashes or "Blue Screens of Death" (BSOD).
- A computer that fails to boot or hangs during the POST (Power-On Self-Test) process.
- Strange-looking graphical artifacts on the screen.
- A distinct "fishy" or chemical smell when the machine warms up.
It's worth noting that some high-quality solid capacitors don't bulge as dramatically as electrolytic ones, making them harder to spot. However, if your machine is behaving erratically, don't assume the hardware is fine just because it looks okay at a glance. A quick visual inspection with a magnifying glass is your best friend here.
How much does it cost to replace capacitors?
Replacing capacitors is generally very inexpensive, often costing less than $20 for a full motherboard overhaul, though your time is the real investment. While the individual components are cheap, the cost of specialized tools and the risk of error are what you're actually weighing.
If you're working on a legendary machine like the Commodore 64, you'll find that a single pack of high-quality capacitors is quite affordable. The real expense comes if you accidentally damage a trace or a nearby surface-mount component during the desoldering process.
| Item | Estimated Cost (USD) | Purpose |
|---|---|---|
| Assorted Electrolytic Capacitors | $10 - $25 | The replacement parts themselves. |
| Solder Wick / Desoldering Pump | $8 - $15 | Removing old solder from the board. |
| Isopropyl Alcohol (99%) | $5 - $10 | Cleaning up leaked electrolyte. |
| Soldering Iron & Solder | $30 - $60 | The actual toolset for the job. |
What tools do you need for motherboard repair?
You need a specific set of precision tools to ensure you don't damage the delicate traces on a vintage PCB. Using a standard hardware store soldering iron might actually do more harm than good because they often lack precise temperature control.
Here is a checklist of what you'll actually use:
- Soldering Iron: Ideally, a station with adjustable temperature.
- Desoldering Pump (Solder Sucker): To remove the old solder from the holes.
- Solder Wick: A copper braid that "soaks up" excess solder.
- Isopropyl Alcohol (99% concentration): For cleaning the board after the leak is removed.
- Magnifying Lamp or Loupe: To see the tiny traces and cracks.
- Digital Multimeter: To check for continuity and voltage levels.
Don't skip the alcohol step. If you leave even a tiny bit of electrolyte residue on the board, it will continue to corrode the metal. I always use 99% isopropyl alcohol because it evaporates quickly and leaves no water behind. Water is the enemy of vintage electronics.
How do I clean and replace capacitors safely?
The process involves three distinct stages: cleaning the area, removing the old components, and installing the new ones. You must be extremely careful with heat; too much heat can lift a copper trace right off the board, and once that happens, the repair becomes much more difficult.
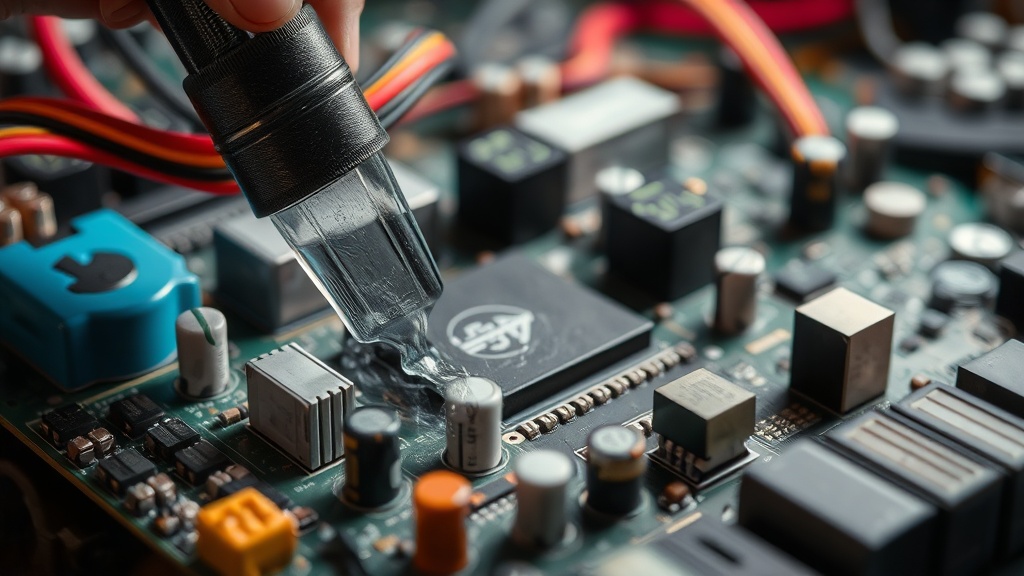
First, address the corrosion. If you see a leak, use a soft toothbrush and 99% isopropyl alcohol to gently scrub the area. You want to lift the liquid out, not spread it around. Once the area is physically clean, you can move to the desoldering. This is the part that makes people nervous—the idea of a hot iron near a piece of history. Just stay calm.
Here is the step-by-step workflow:
- Identify the Specs: Look at the side of the old capacitor. You need the capacitance (measured in µF) and the voltage (V). It is a good idea to use a slightly higher voltage rating for the replacement if it's physically possible (e.g., replacing a 16V cap with a 25V cap).
- Apply Heat: Touch the iron to the solder joint. Once the solder melts, use the desoldering pump to suck the liquid metal away.
- Remove the Old Part: Repeat this for both legs of the capacitor. Ensure both legs are completely free of solder before pulling the component out.
- Clean the Holes: Use your solder wick to make sure the holes are clear.
- Insert New Capacitors: Place the new capacitors in. Remember: polarity matters! The negative side is usually marked with a stripe on the capacitor body.
- Solder and Test: Solder the legs, trim the excess with wire cutters, and clean the area one last time with alcohol.
One thing to keep in mind: don't be too aggressive with the desoldering pump. If you hit the board too hard, you'll crack the PCB. It's a delicate dance. If the solder isn't melting easily, don't just press harder; add a tiny bit of fresh solder to the joint to help the heat transfer. This is a common trick in the electronics world—adding "new" solder to make "old" solder flow better.
If you find yourself hesitant about the technicality of this, remember that even the most advanced systems rely on these basic components. It's a skill that takes practice. If you're worried about the long-term stability of your setup, you might want to look into the real cost of owning vintage computers, as maintenance is a recurring part of the hobby.
Once you've finished, give the board a final inspection. Check for any stray solder balls or "bridges" where two metal points might be touching. A clean, well-soldered board is a sign of a job well done. If you've followed the steps, your vintage machine should run much more reliably, and you've saved it from a slow, chemical death.
Steps
- 1
Inspect the Board
- 2
Neutralize the Leakage
- 3
Physical Cleaning
- 4
Dry and Inspect