How to Safely Clean and Restore Vintage Mechanical Keyboards

This guide walks through the complete process of cleaning and restoring vintage mechanical keyboards—from disassembly to switch lubrication—so collectors can bring old boards back to working condition without damaging irreplaceable parts. Whether you've picked up a grime-covered IBM Model M at a garage sale or inherited an Apple Extended Keyboard II with sticky switches, proper cleaning preserves value and restores that satisfying tactile feel these classics are known for.
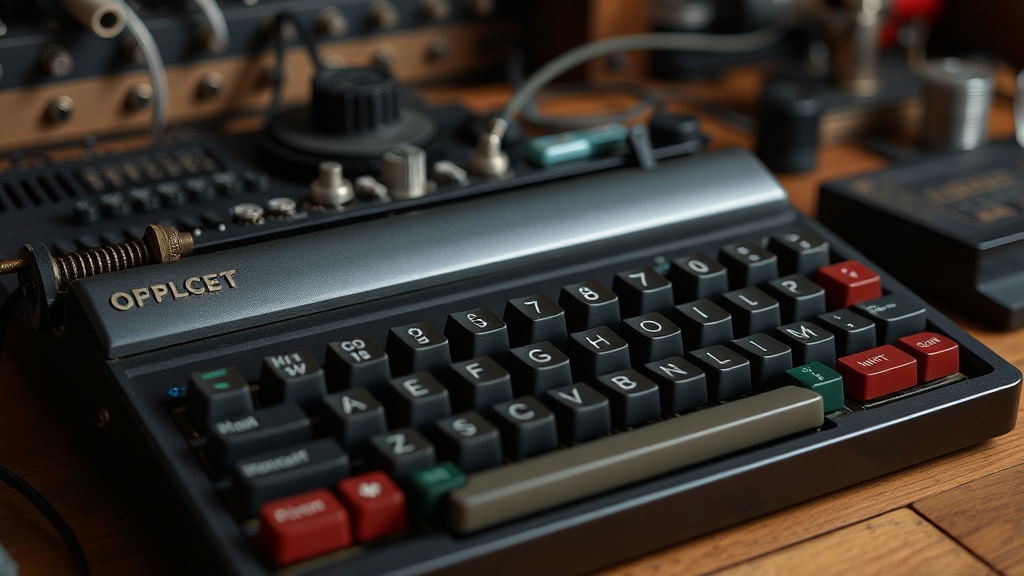
What's the Safest Way to Disassemble an Old Mechanical Keyboard?
Start by taking photos of the keyboard from multiple angles before touching a single screw. Documenting the original state saves headaches during reassembly—especially with older boards that use unusual clip arrangements or hidden fasteners.
Most vintage keyboards from the 1980s and 90s fall into three categories: screw-mounted cases (IBM, early Cherry), clip-together designs (Apple, many Compaq boards), and wedge-style housings with hidden tabs (some Northgate models). You'll need a set of precision screwdrivers—iFixit's Mako Driver Kit works well—and a spudger tool for prying apart plastic clips without scratching.
The process varies by brand:
- IBM Model M / Unicomp: Remove three screws from the rear, then separate the metal backplate from the plastic upper shell. The membrane assembly lifts out as one piece—handle it gently, as replacement membranes are scarce.
- Apple Extended Keyboard II: Twelve plastic clips hold the case together. Insert a spudger between the upper and lower halves, working around the perimeter slowly. The Alps switches sit on a separate mounting plate that lifts out once the controller cable disconnects.
- Cherry G80 series: Self-tapping screws from the underside—often hidden under rubber feet. The PCB separates from the switch plate once screws are removed, exposing the soldered switches.
Worth noting: some vintage boards use metal rivets instead of screws (certain Apple Design Keyboard variants). These require drilling out and replacing with small screws during reassembly—document rivet placement carefully before cutting.
Once opened, disconnect any ribbon cables by pulling parallel to the connector, never at an angle. Those thin traces tear easily after thirty-plus years of embrittlement.
How Do You Clean Vintage Keycaps Without Damaging Them?
Keycaps from the 80s and 90s are typically ABS plastic—prone to yellowing and softer than modern PBT caps. Aggressive cleaning methods strip texture or cause whitening, so patience matters more than elbow grease.
Start with dry removal. Use a keycap puller—the wire style from WASD Keyboards causes less stress than plastic ring pullers on vintage stems. Work from one corner systematically; random pulling risks losing track of placement on non-standard layouts like the Apple M0110 or IBM 5251.
For cleaning, avoid the dishwasher (despite what Reddit suggests). The high heat warps ABS and can dissolve stabilizer inserts. Instead:
- Fill a container with warm water and a few drops of dish soap—Dawn Original works fine, nothing with bleach or ammonia.
- Soak keycaps for 30 minutes to loosen grime.
- Scrub each cap gently with a soft toothbrush, paying attention to the sides where finger oils accumulate.
- Rinse thoroughly and dry on a towel with the legends facing up—water trapped inside can drip onto stems later.
For yellowed caps, retrobrightening (UV + hydrogen peroxide) works but carries risks. The process involves coating caps in 12% hydrogen peroxide cream—Sally Beauty 40 Volume Creme Developer is the standard choice—and exposing them to UV light for several hours. That said, retrobrightening temporarily masks yellowing; the bromine fire retardants in old ABS will yellow again within a few years. Some collectors accept the patina rather than risk brittleness from repeated treatments.
What Should You Use to Clean a Mechanical Keyboard PCB?
The PCB (printed circuit board) and plate assembly usually hide decades of dust, hair, and mysterious sticky residue. Getting this clean without damaging traces or switch housings requires the right solvents and technique.
Start with compressed air—a DataVac Electric Duster works better than canned air for heavy buildup and doesn't spray refrigerant onto components. Blow from multiple angles to dislodge debris between switch housings.
For the plate and PCB surface:
- Isopropyl alcohol 99%: Safe for most components, evaporates quickly without residue. Use with cotton swabs (the pointed kind from Chefmaster) for detail work around switch contacts.
- DeoxIT D5: The standard for cleaning oxidation from contact points—particularly useful on Alps switches where the leaf contacts tarnish. Apply sparingly; a little goes further than you'd think.
- Distilled water with mild detergent: For really grimy boards (keyboard found in a barn-type situations), a gentle wash followed by thorough drying works. The catch? The board must be completely dry—48 hours minimum in a warm, dry space—before reconnecting power.
Here's the thing about vintage PCBs: they're often single-sided with thick traces, more forgiving than modern boards but still vulnerable to scrubbing too hard around solder joints. Work gently near capacitors and diodes—these components age and can crack under pressure.
| Cleaning Task | Recommended Product | What to Avoid |
|---|---|---|
| Switch contacts | DeoxIT D5 or CAIG DeoxIT Gold | WD-40 (leaves residue) |
| PCB surface cleaning | 99% isopropyl alcohol | Acetone (dissolves some plastics) |
| Plate rust removal | Evapo-Rust soak | Sandpaper (removes plating) |
| Case whitening | Retrobright (H2O2 + UV) | Bleach (damages ABS permanently) |
| Stabilizer lubrication | Krytox 205g0 or Dielectric grease | Vegetable oil (rancid smell) |
How Do You Restore Yellowed Plastic on Keyboard Cases?
That beige "computer tan"—technically called bromine-induced photodegradation—plagues virtually every vintage keyboard made before the mid-2000s. The good news? It's reversible (temporarily) with the retrobrightening process.
The standard method uses hydrogen peroxide cream under UV light. You'll need:
- 12% hydrogen peroxide cream (40 volume developer from beauty supply stores)
- UV light source—sunlight works but is unpredictable; a UV nail lamp or Blacklight.com UV strip gives better control
- Clear plastic wrap to prevent the cream from drying out
- Brushes for application—cheap foam brushes work fine
Remove all metal components from the case first. The peroxide won't hurt steel or aluminum, but it can cause flash rusting on untreated metal. Apply an even layer of cream to the yellowed plastic, wrap tightly in plastic film, and expose to UV. Check every 2-3 hours; most cases need 6-12 hours total depending on yellowing severity.
That said, retrobrightening isn't permanent. The chemical reaction that reverses yellowing only lasts until the bromine compounds reactivate under light exposure. Some collectors at Deskthority have experimented with UV-protective clear coats to extend results, with mixed success. The reality? A yellowed keyboard in original condition often holds more value than a freshly retrobrightened one with altered surface texture.
When Should You Lubricate Vintage Switches?
Not every old switch needs lube. Many vintage Cherry MX Black switches from the 80s—often called "vintage blacks"—have naturally smooth action from years of use and different manufacturing tolerances. Adding lubricant can actually make them feel mushy.
However, certain switch types benefit enormously from careful lubrication:
- Alps SKCM/SKCL: These switches dry out over decades. A thin application of Krytox 205g0 on the slider rails and contact leaves restores smoothness without making them sluggish.
- Foam and foil switches: Early Mitsumi and similar designs often have degraded internal foam. Disassembly, cleaning, and light lubrication helps—but replacement is usually better.
- Clicky switches (IBM buckling spring, Alps clicky): Generally avoid lubrication. It dampens the click and can attract dust to the spring mechanism.
Application requires opening switches—a Kailh switch opener works for Cherry-style housings, but vintage switches often need careful prying with a small flathead. Apply lube sparingly with a fine brush; over-lubricated switches feel gummy and collect debris faster.
For Alps switches specifically, Geekhack maintains excellent documentation on disassembly and maintenance. The contact leaves are delicate—bend them and the switch won't register properly.
What's the Best Way to Reassemble and Test Everything?
Reassembly is disassembly in reverse—except now you're verifying as you go. Start by testing the PCB before installing switches: use a piece of wire or tweezers to bridge each switch contact pair, confirming the matrix registers every position. Fixing PCB issues now saves desoldering later.
When reinstalling switches:
- Verify each switch clicks smoothly before soldering
- Ensure switch pins are straight—they bend easily and will damage the PCB socket if forced
- Work in sections, testing the board after every row rather than soldering everything at once
Stabilizers—the wire mechanisms under larger keys like spacebar and shift—often need attention. Vintage Costar-style stabilizers (common on Cherry boards) should be cleaned and receive a small dab of dielectric grease on the wire ends. Insert-style stabilizers found on Apple boards need the clips checked for cracks; replacements are available from MechanicalKeyboards.com.
The final step? A burn-in period. Type on the restored keyboard for a few days before declaring victory. Some issues—intermittent contacts, stabilizer rattles, subtle binding—only appear under actual use. Keep that screwdriver handy; perfection usually requires a second pass.
Restoring vintage keyboards isn't just about aesthetics—it's about preserving tools that were built to last decades when most modern peripherals are designed for two-year replacement cycles. A clean, functioning IBM Model M or Apple Extended Keyboard II connects you to computing history in a way that no RGB gaming board ever will.
Steps
- 1
Safely disassemble the keyboard and remove all keycaps
- 2
Clean keycaps and keyboard case with appropriate solutions
- 3
Reassemble and test all switches for proper functionality