How to Clean, Restore, and Preserve Vintage Computers Without Damaging Them

There’s a fine line between restoring a vintage computer and accidentally erasing decades of history. I’ve seen immaculate machines ruined by overzealous cleaning and, just as often, neglected systems saved with a careful, methodical approach. If you collect retro hardware, preservation should always come before perfection.
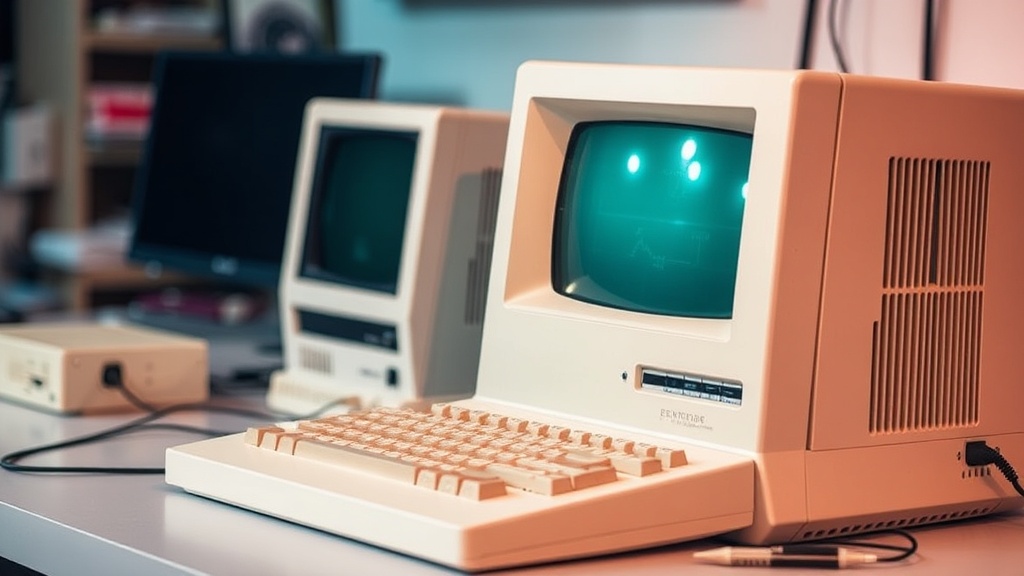
This guide walks you through a practical, collector-tested process for cleaning, restoring, and preserving vintage computers safely—whether it’s a beige 486 tower, an early Macintosh, or a well-worn Commodore.
Step 1: Assess Before You Touch Anything
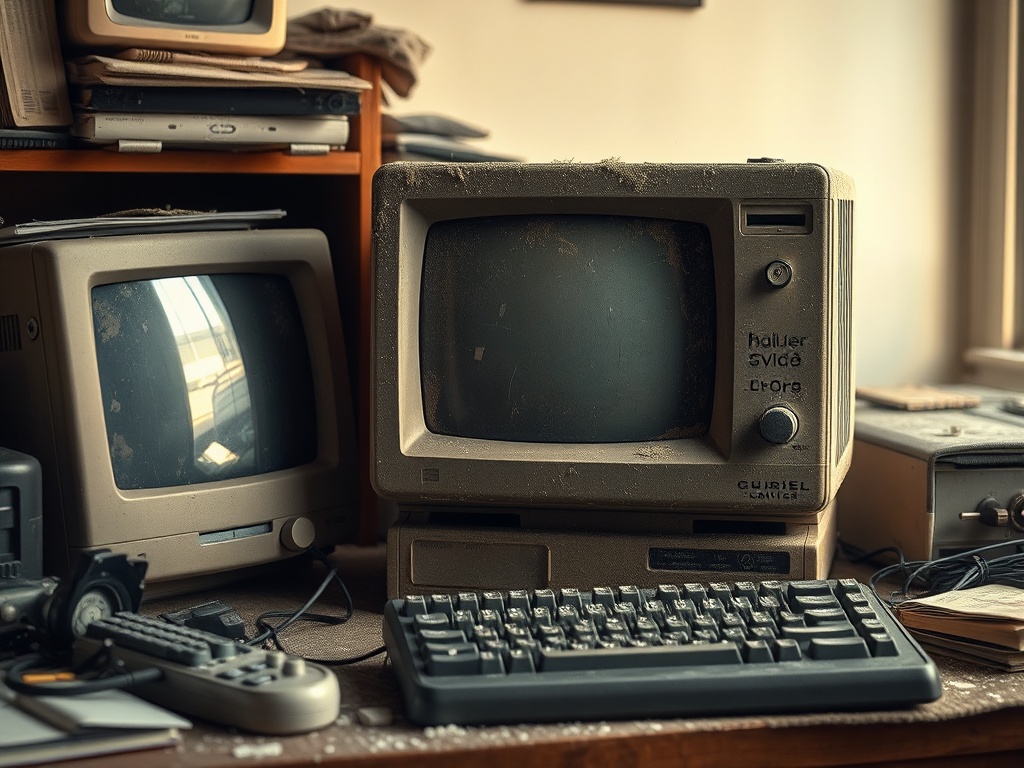
Before grabbing a screwdriver or cleaning cloth, take a hard look at what you’re dealing with. Dirt is obvious. Damage is not.
- Check for brittle plastics: Yellowed ABS can crack under pressure.
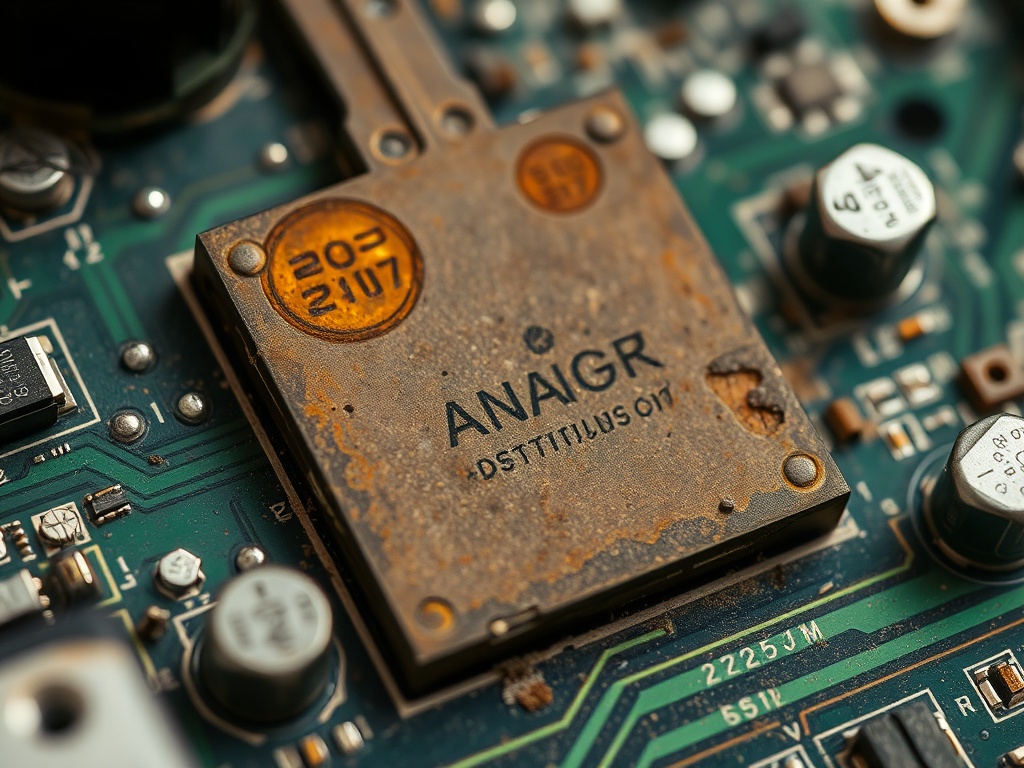
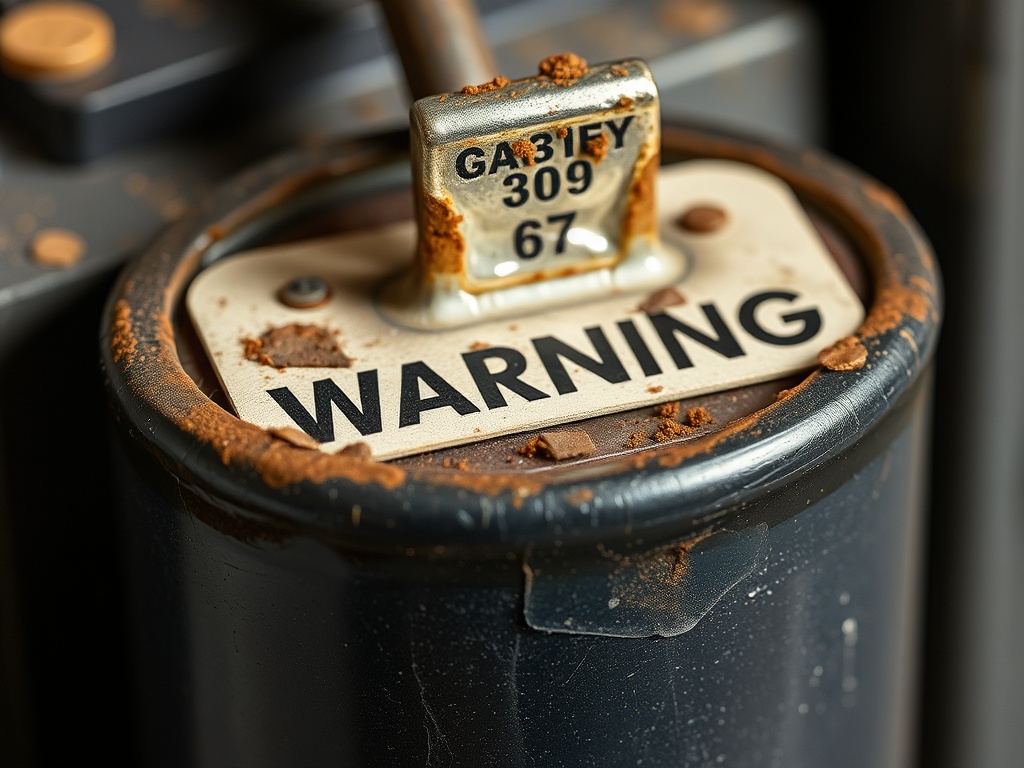
- Look for corrosion: Battery leakage is common in older boards.
- Smell test: A sharp chemical odor can signal capacitor failure.
- Document everything: Take photos before disassembly.
This step isn’t optional. Rushing here is how collectors snap tabs, lose screws, or destroy irreplaceable labels.
Step 2: Safe External Cleaning (The Right Way)
Start with the least invasive method possible. You’re not restoring a car—you’re preserving history.
- Use a soft brush to remove loose dust.
- Follow with compressed air in short bursts.
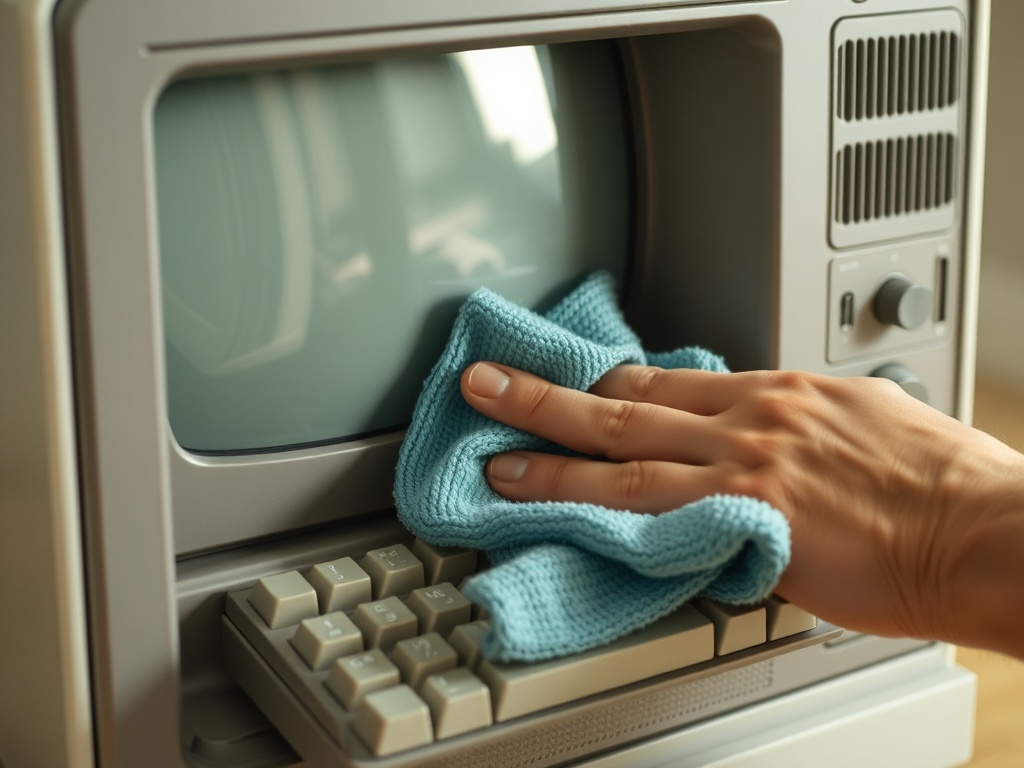
- Wipe surfaces using a slightly damp microfiber cloth.
- Avoid harsh chemicals—stick to diluted isopropyl alcohol (70–90%).
Never soak plastic parts. Moisture trapped in seams can cause long-term damage or discoloration.
Step 3: Opening the Case Without Breaking It
Vintage cases weren’t designed to be opened repeatedly. Clips become fragile over time.
- Use the correct screwdriver—no improvising.
- Apply gentle, even pressure when separating panels.
- Work slowly around edges instead of forcing one side.
If something doesn’t move, stop. Hidden screws or clips are almost always the reason.
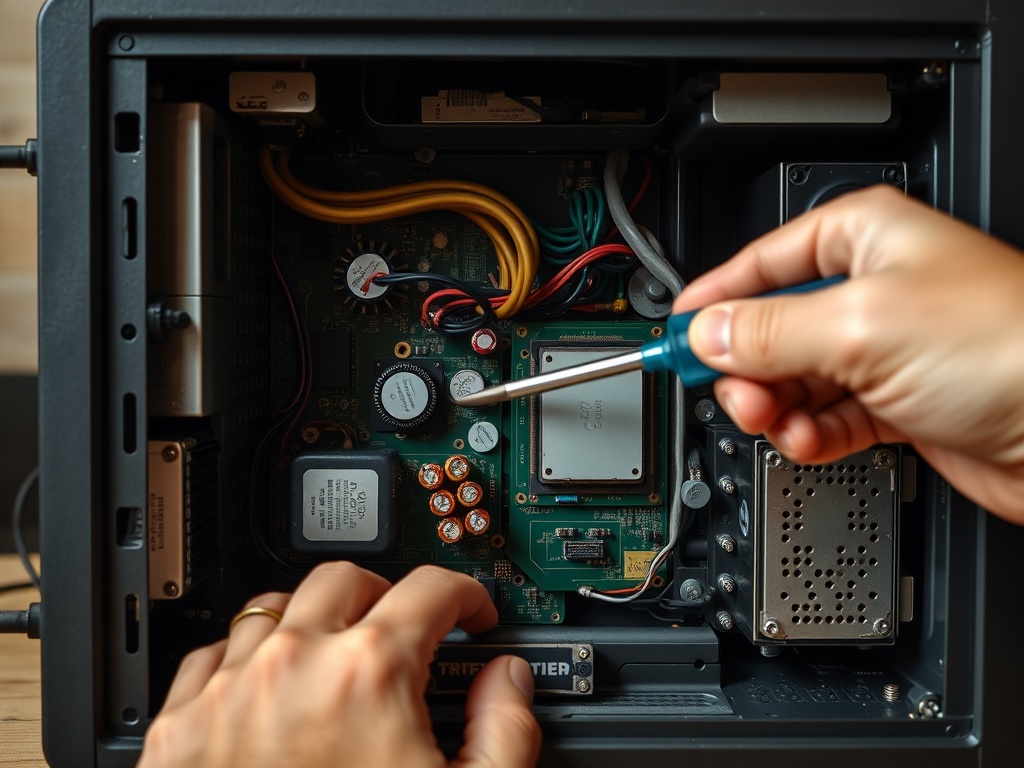
Step 4: Cleaning Internal Components
Inside is where most damage occurs if you’re careless.
- Use compressed air to clear dust from fans and heatsinks.
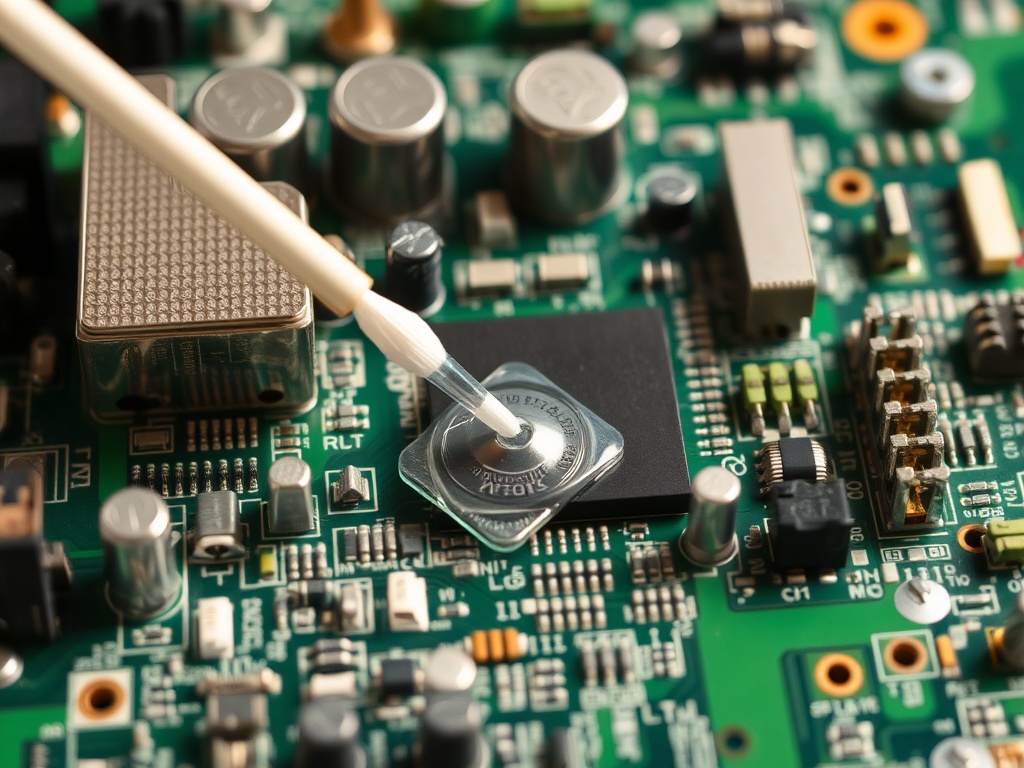
- Clean contacts with isopropyl alcohol and cotton swabs.
- Remove corrosion gently—never scrape aggressively.
- Handle boards by the edges only.
If you encounter battery leakage, neutralize it carefully (typically with vinegar for alkaline residue), then clean with alcohol.
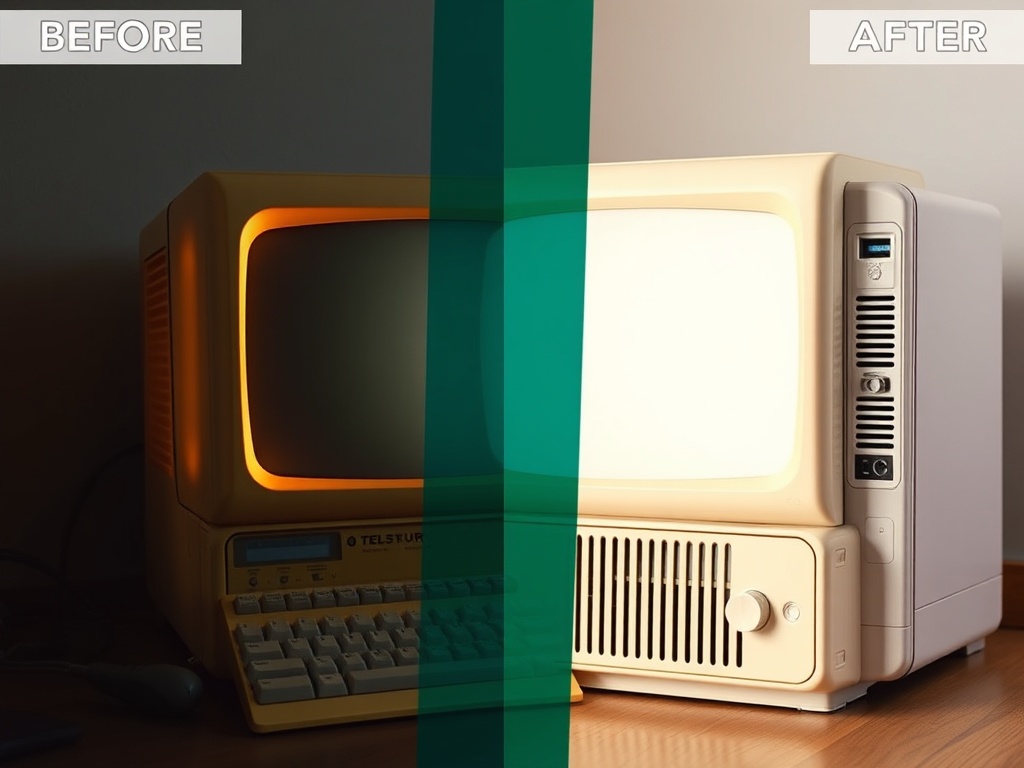
Step 5: Dealing With Yellowed Plastic
Yellowing is one of the most debated topics in the hobby. The popular “retrobrighting” process can restore color—but it’s not risk-free.
My take: only attempt it if the aesthetic matters more than originality.
- Use hydrogen peroxide solutions cautiously.
- Avoid uneven exposure to UV light.
- Test on hidden areas first.
Overdoing it can leave plastics brittle or blotchy. Sometimes a clean, slightly yellowed case is the better choice.
Step 6: Inspecting and Replacing Aging Parts
Even if a machine looks good, internal components may be failing silently.
- Capacitors: Look for bulging or leakage.
- CMOS batteries: Replace proactively to avoid damage.
- Cables: Check for cracking insulation.
Replacement parts should match original specs whenever possible. This isn’t a modern upgrade—it’s preservation.
Step 7: Reassembly and Testing
Putting everything back together is where patience pays off.
- Reconnect cables exactly as documented.
- Double-check seating of RAM and cards.
- Power on using a surge-protected outlet.
If something fails, don’t panic. Go back step-by-step rather than guessing.
Step 8: Long-Term Storage and Preservation
Cleaning is only half the job. Preservation determines whether your system survives another 30 years.
- Store in a cool, dry environment.
- Avoid direct sunlight to prevent further yellowing.
- Use dust covers or display cases.
- Power on periodically to keep components functional.
Collectors who ignore storage undo all their restoration work within a few years.
Common Mistakes to Avoid
- Using household cleaners (they damage plastics).
- Rushing disassembly.
- Over-restoring and removing original character.
- Ignoring battery leakage risks.
Final Thoughts
Restoring vintage computers isn’t about making them look new—it’s about respecting what they’ve survived. Every scratch, every yellowed panel, every sticker tells a story. The goal is to stabilize and protect, not erase history.
If you approach restoration with patience and restraint, you’ll end up with machines that not only look better—but last longer and remain authentic.
Steps
- 1
Assess Before You Touch Anything
- 2
Safe External Cleaning
- 3
Open the Case Carefully
- 4
Clean Internal Components
- 5
Handle Yellowed Plastic
- 6
Inspect Aging Parts
- 7
Reassemble and Test
- 8
Store and Preserve Properly